In the spring most school districts across the nation put all evaluations on hold. Now, faced with continued remote learning in the fall semester, many SLPs are scrambling to figure out how to conduct teletherapy receptive language and expressive language evaluations.
We are right there with you. We have completed a number of evaluations over the course of the spring a summer and want to share some tips with you. We’ll start with how to administer receptive language items during your remote speech-language evaluations.
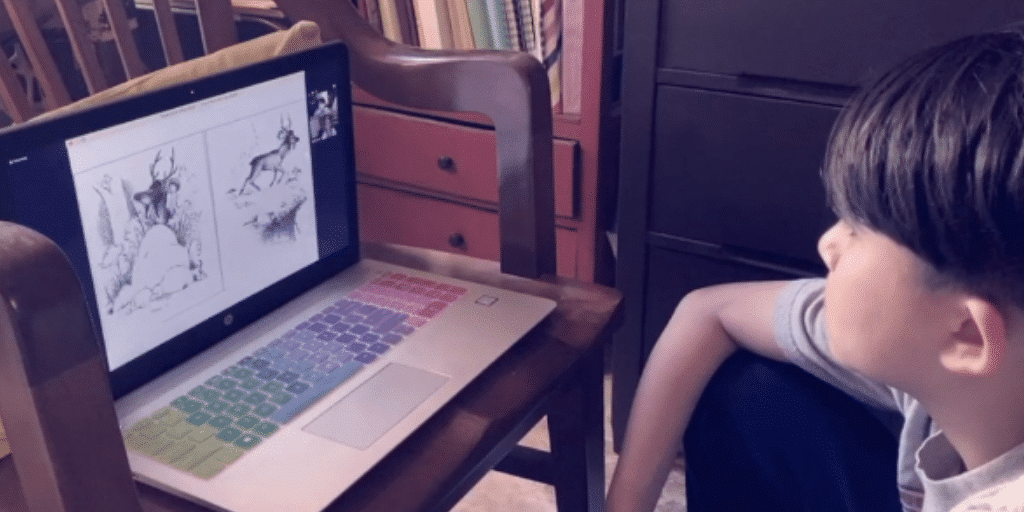
First and foremost, you need to find a way to display the items on the screen. Holding the book up to the camera is not very effective. Many publishers have granted examiners temporary permission utilize their testing tools in remote format. For specific tools you want to use, check the publisher’s website for their permissions or reach out to them. Pro-Ed and Pearson also have provided some options for doing this. Pearson has a number of their tests in their Q-Interactive system and Pro-Ed has digitized their tests in Red Shelf.
There are a number of different types of teletherapy receptive language items.
Some items do not require pictures or manipulatives.
The easiest items to administer are those that do not require pictures on the screen or manipulatives. Story comprehension questions are quick to administer if pictures are not required. Then there are items like, “Point to your nose,” where you just need to be able to see your student on the screen. Those are the easy ones.
There are items that involve manipulatives. For these, be sure to let your families know ahead of time exactly what you need them to have together. I’ve found that it’s best to send both a list and a picture of the items. Then you need to be able to see the manipulatives in the screen.

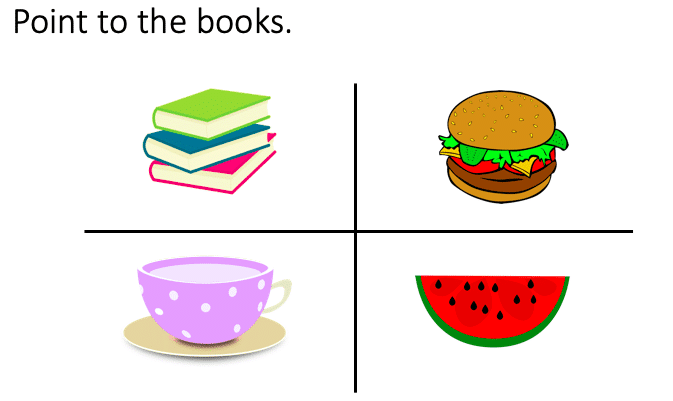
There are items that present multiple pictures for which the student is asked to select one item.

For these types of items, you need to be able to see what the child is selecting. There are three ways you can do this:
- Annotation tools in your video conferencing platform. You can use stamps and ask the student to place a check mark on the item they select. They’ll then need to undo their action before moving on to the next item. You can also allow them to use the mouse to point and then they won’t need to remove the check mark.
- An external camera that allows you to see the student pointing to the screen. One way to achieve this is to add the family to your videoconferencing call by their computer with one email address and by their phone with another email address.
- A proctor (usually a parent at this point) who can accurately report to you the student’s response. We’ve used a thumbs-up, thumbs-down approach as well as asking parents to report what the child pointed to.
Some items require the student to select more than one item.


For this type of item, the mouse annotation tool works best. If the technology you or your student are using does not allow for the use of annotation tools, an external camera also works well. If those two options are not available, proctor report can be used.
With any of these methods, you will want to describe any adaptations in your report. Tune in next time for blurbs to use in your reports for remote speech-language evaluations.
For more on teletherapy receptive language and expressive language remote testing visit:


